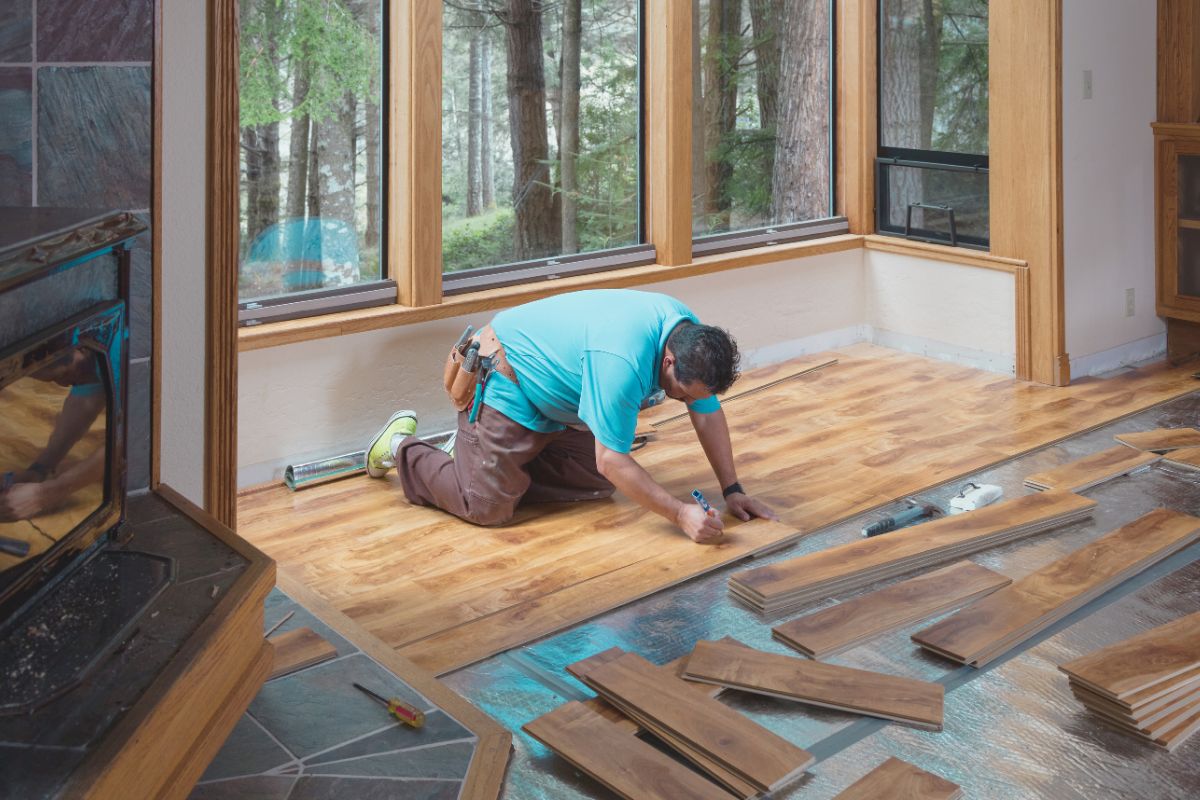
Timber flooring is one of the most popular flooring options for homeowners because of its natural beauty, durability, and long lifespan. Whether you’re renovating a room or building a new home, installing timber flooring can significantly enhance the appearance and value of your space. While professional flooring installation is always an option, many homeowners choose to install timber floors themselves to save money and enjoy the satisfaction of a DIY project.
This step-by-step guide will walk you through the entire timber flooring installation process, from preparation to finishing, so you can achieve professional-looking results.
1. Choose the Right Timber Flooring
Before starting the installation, it’s important to select the right type of timber flooring for your space. The most common types include:
- Solid Timber Flooring – Made from a single piece of wood, known for durability and a classic look.
- Engineered Timber Flooring – Consists of multiple layers with a hardwood top layer, offering greater stability.
- Floating Timber Floors – Installed without nails or glue, making them easier for DIY installation.
Consider factors such as:
- Room humidity and temperature
- Subfloor type
- Budget
- Style and colour preferences
Selecting the right timber flooring ensures durability and helps prevent issues like warping or expansion.
2. Gather Tools and Materials
Proper preparation is key to a smooth installation process. Gather all the necessary tools and materials before you begin.
Tools Required
- Measuring tape
- Chalk line
- Circular saw or jigsaw
- Rubber mallet
- Spacers
- Spirit level
- Flooring nailer (for solid timber)
- Hammer
- Pry bar
Materials Required
- Timber flooring boards
- Underlay (for floating floors)
- Flooring adhesive or nails
- Moisture barrier (if required)
- Expansion spacers
Having everything ready will help avoid interruptions during installation.
3. Prepare the Subfloor
The subfloor is the foundation of your timber flooring, so it must be clean, dry, and level.
➡️ Clean the Surface: Remove any debris, dust, carpet, or old flooring materials. Sweep and vacuum the entire area to ensure the surface is smooth.
➡️ Check for Levelness: Use a spirit level to check for uneven spots. If the subfloor is not level, sand high spots or apply a leveling compound to low areas.
➡️ Ensure the Subfloor is Dry: Excess moisture can damage timber floors. Use a moisture meter if possible, especially when installing over concrete. If necessary, install a moisture barrier before laying the flooring.
A properly prepared subfloor prevents squeaking, uneven surfaces, and long-term damage.
4. Acclimate the Timber Flooring
Timber naturally expands and contracts with changes in temperature and humidity. To prevent issues after installation, allow the timber boards to acclimate to the room conditions.
Place the flooring boards in the installation room for 48–72 hours before installation. Keep the boards in their packaging but open the ends slightly to allow air circulation.
Ensure the room temperature and humidity levels are close to normal living conditions during this time.
Acclimation helps reduce the risk of gaps, buckling, or warping later.
5. Plan the Layout
Proper planning ensures a balanced and visually appealing floor.
Measure the Room
Measure the width of the room and divide it by the width of a flooring board. This helps determine the width of the final row.
If the last row will be too narrow (less than 40–50 mm), cut the first row narrower to maintain balance.
Determine the Direction
Timber flooring is typically installed:
- Parallel to the longest wall
- In the direction of natural light
- Perpendicular to floor joists (for structural stability)
Mark the Starting Line
Use a chalk line to mark a straight starting line along the first wall. This ensures the first row is perfectly straight.
6. Install the Underlay
If you are installing a floating timber floor, underlay is essential.
Underlay provides:
- Sound insulation
- Moisture protection
- Cushioning for the flooring
- Improved comfort underfoot
Roll out the underlay across the subfloor and trim it to fit the room. Tape the seams together to prevent movement.
Make sure the underlay lies flat without wrinkles.
7. Install the First Row
The first row is the most important because it sets the alignment for the entire floor.
Place spacers along the wall to create an expansion gap of 10–15 mm. This gap allows the timber to expand and contract with temperature changes.
Lay the first board along the chalk line with the groove side facing the wall.
For different installation types:
- Floating floors: Click or glue the boards together.
- Nail-down floors: Secure the boards using a flooring nailer.
- Glue-down floors: Apply adhesive to the subfloor before placing boards.
Ensure the first row is straight and secure before continuing.
8. Continue Installing the Remaining Rows
Once the first row is installed, continue laying the remaining boards.
a. Stagger the Joints
For strength and appearance, stagger the end joints by at least 300 mm between rows. This creates a natural and stable pattern.
b. Connect the Boards
Depending on your flooring type:
- Click-lock systems: Angle the board and snap it into place.
- Glue systems: Apply adhesive to the tongue before joining boards.
- Nail-down systems: Nail through the tongue of each board.
Use a rubber mallet and tapping block to ensure tight joints without damaging the boards.
c. Cut Boards When Needed
When reaching the end of a row, measure and cut the board to fit using a circular saw or jigsaw. Use the leftover piece to start the next row if it meets the minimum joint spacing.
9. Install the Final Row
The final row may require trimming to fit the remaining space.
Measure the gap between the last installed row and the wall, subtracting the expansion gap.
Cut the boards lengthwise to fit the space. Use a pry bar to gently pull the boards into place since a tapping block may not fit near the wall.
Ensure the boards are tightly connected.
10. Install Skirting Boards or Trim
Once the flooring is fully installed, remove the expansion spacers.
Cover the expansion gaps with:
- Skirting boards (baseboards)
- Quarter-round moulding
- Scotia trim
Attach the trim to the wall, not the flooring. This allows the floor to expand and contract freely.
Trim provides a clean and professional finish to the installation.
11. Clean and Inspect the Floor
After installation, thoroughly clean the floor to remove dust and debris.
Steps include:
- Vacuum the surface
- Wipe with a slightly damp microfiber mop
- Remove adhesive residue if necessary
Inspect the floor carefully for:
- Gaps between boards
- Loose boards
- Surface damage
Fix any issues immediately before furniture is placed on the floor.
12. Allow the Floor to Set
If adhesive was used, allow the floor to cure according to the manufacturer’s instructions. This usually takes 24–48 hours.
During this time:
- Avoid heavy foot traffic
- Do not place furniture on the floor
- Maintain stable room temperature
Proper curing ensures a strong and long-lasting installation.
13. Protect and Maintain Your Timber Floor
Once installed, proper maintenance will keep your timber floor looking beautiful for years.
Maintenance Tips
- Use felt pads under furniture legs
- Avoid excessive moisture when cleaning
- Sweep or vacuum regularly
- Use timber floor cleaners only
- Place rugs in high-traffic areas
Avoid dragging heavy furniture across the floor, as this can cause scratches.
Regular care will extend the life of your timber flooring and maintain its natural appearance.
Conclusion
Installing timber flooring can transform the look and feel of any home. While the process requires careful preparation and attention to detail, it is a manageable project for DIY enthusiasts with the right tools and guidance.
By following these steps, preparing the subfloor, acclimating the timber, planning the layout, and installing the boards correctly, you can achieve a professional-quality finish that enhances both the beauty and value of your space.
With proper installation and regular maintenance, timber flooring can last for decades, providing warmth, elegance, and durability in your home.