Laminate flooring has become one of the most popular options for homeowners who want the look of hardwood without the high cost or complicated maintenance. It’s durable, stylish, and relatively simple to install, even on top of a concrete slab. Whether you’re finishing a basement, renovating a living room, or updating a rental property, laminate can deliver impressive results with a DIY-friendly process.
In this guide, you’ll learn everything you need to know about how to install laminate flooring on concrete, from preparing the slab to the finishing touches. We’ll cover tools, materials, tips, mistakes to avoid, and more. Let’s get started.
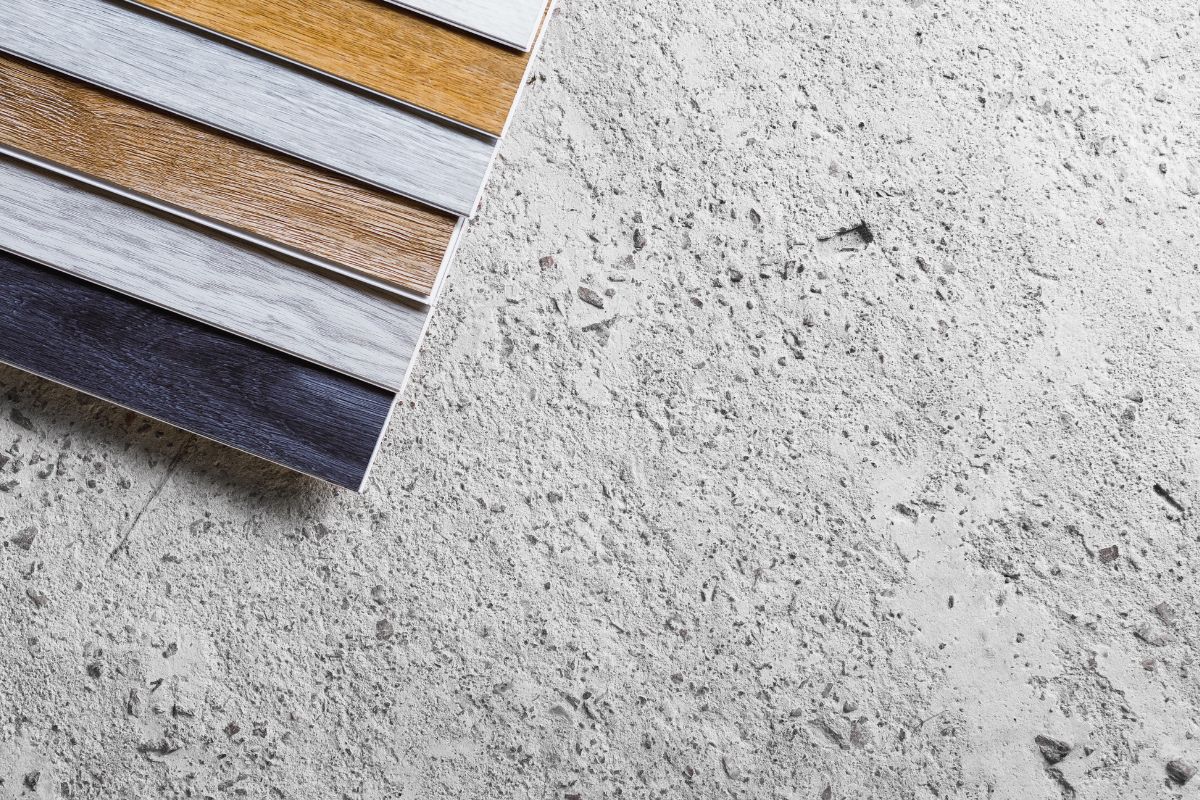
Why Laminate Flooring Works Great on Concrete
Concrete slabs, like those in basements, ground-level rooms, or garages converted into living space, provide a stable base for laminate flooring. Laminate planks use a click-lock or tongue-and-groove system, so they essentially “float” over the slab without adhesive. As long as you prepare the surface properly and install the right underlayment, you can enjoy a warm, comfortable floor that lasts for years.
Benefits of laminate on concrete:
- Affordable compared to hardwood or engineered wood
- Easy DIY installation
- Moisture-resistant options available
- Attractive, realistic finishes that mimic wood or stone
- Comfort and warmth when used with proper underlayment
Tools and Materials You’ll Need
Tools
- Tape measure
- Utility knife
- Rubber mallet
- Spacers
- Jigsaw or circular saw
- Level
- Tapping block
- Pull bar
- Broom and shop vac
Materials
- Laminate flooring planks
- Moisture barrier (6-mil plastic sheeting) or underlayment with vapor protection
- Laminate underlayment (if not attached to the planks)
- Transition strips and baseboards
- Silicone sealant (optional for moisture-prone areas)
Step 1: Check the Moisture Level of Your Concrete
Laminate flooring is durable, but moisture is its enemy. Before installation, you must ensure the concrete slab is dry enough.
How to test moisture:
- Tape a piece of plastic sheeting (2×2 ft) to the floor.
- Leave it for 24–48 hours.
- If condensation forms or the concrete darkens, the slab still has moisture issues.
If your slab has mild moisture, you can still install laminate using a high-quality vapor barrier. For serious moisture problems, consult a contractor.
Step 2: Prepare the Concrete Surface
A smooth, clean, dry slab is essential for a successful installation.
Checklist for slab preparation
- Clean thoroughly: Sweep and vacuum all dust, debris, and grit.
- Remove paint or adhesives: Scraping or using a concrete adhesive remover may be necessary.
- Check for cracks: Fill hairline cracks with concrete patch compound.
- Check for levelness: Use a long level. Laminate requires no more than 3/16″ variation over 10 feet.
Step 3: Install the Vapor Barrier
When installing laminate over concrete, a vapor barrier is non-negotiable.
How to install it:
- Unroll the 6-mil plastic sheeting across the room.
- Overlap seams by at least 8 inches.
- Seal seams with waterproof tape.
- Extend the edges 2–3 inches up the walls (you’ll trim them later).
This barrier prevents moisture vapor from transmitting into the laminate.
Tip: Some underlayments include a built-in moisture barrier. If yours does, follow the manufacturer’s instructions and skip the plastic sheeting.
Step 4: Lay the Underlayment
Underlayment provides cushion, sound absorption, and stability.
Installing underlayment:
- Roll it out and trim to fit the room’s shape.
- Butt the edges together but do not overlap unless the manufacturer instructs otherwise.
- Secure with tape if needed.
If your laminate has pre-attached underlayment, you can skip this step.
Step 5: Plan Your Layout
Good planning prevents wasted material and awkward cuts.
Layout tips:
- Start along the longest wall or the wall with the main natural light source.
- Ensure the first and last rows are at least 2 inches wide.
- Stagger end joints by at least 8–12 inches for strength and aesthetics.
Open several boxes and mix planks to avoid repetitive patterns.
Step 6: Install the First Row
This step sets the foundation for the entire floor.
- Place spacers between the wall and the planks to create a 1/4″ expansion gap.
- Lay the first plank with its tongue side facing the wall (check your product instructions).
- Click or lock planks together end to end.
- Ensure the first row is perfectly straight.
A crooked first row = a crooked floor.
Step 7: Install Subsequent Rows
Now the installation starts to move more quickly.
How to proceed:
- Start each new row with a plank cut at least one-third length for staggered joints.
- Angle the plank into the previous row and click it down.
- Use a tapping block to snug connections (never hit planks directly).
- Use a pull bar to lock planks near walls.
Continue until the entire floor is covered.
Step 8: Cut Around Doors, Corners & Obstacles
Use a jigsaw for intricate cuts and a circular saw for straight cuts.
Around door frames:
- Undercut the frame so laminate slides underneath for a professional look.
- Use a scrap piece as a guide for height.
Step 9: Install the Final Row
The last row often requires ripping boards lengthwise.
- Measure carefully, account for the expansion gap.
- Use a pull bar to click the final planks into place.
Step 10: Add Finishing Touches
Finish the project with trim and transitions.
What to do:
- Remove spacers around the perimeter.
- Install baseboards or quarter-round molding to cover the expansion gap (do not nail into the laminate).
- Install transition strips where the laminate meets other flooring types.
- Trim and tape the vapor barrier edges underneath the baseboard.
Congratulations, your laminate floor is complete!
Maintenance Tips for Laminate Over Concrete
- Use a dry mop or damp mop, avoid soaking the floor.
- Place rugs at entryways to prevent grit damage.
- Use felt pads under furniture legs.
- Keep humidity between 35% and 65% to avoid plank expansion or contraction.
Common Mistakes to Avoid
- Skipping the vapor barrier
- Installing over an uneven slab
- Forgetting the expansion gap
- Not mixing planks from multiple boxes
- Hammering planks directly without a tapping block
Avoid these, and your installation will last for decades.
Final Thoughts
Installing laminate flooring on concrete is a manageable project for most DIYers. With careful preparation, the right materials, and patience during installation, you can completely transform a room in a single weekend. Whether you’re refreshing a basement or upgrading your main living area, laminate gives you the beauty of hardwood at a fraction of the price.