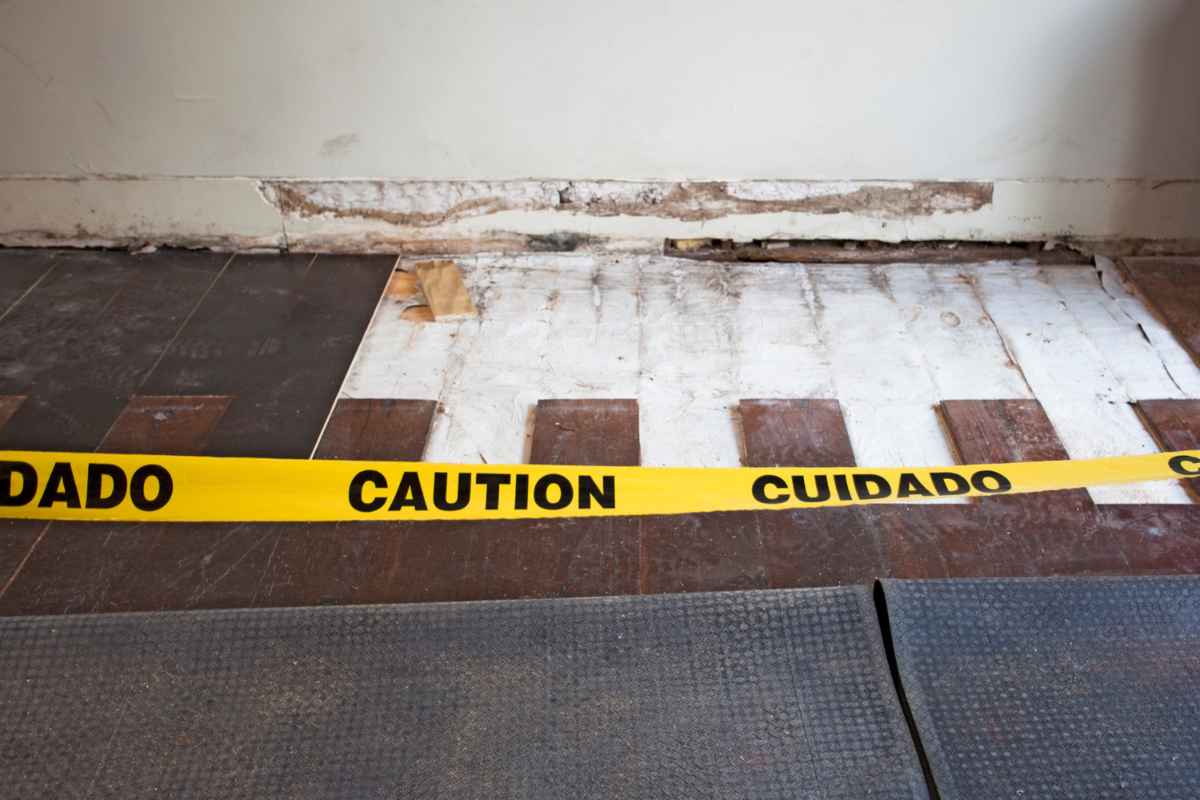
Replacing the flooring in your home is an effective way to improve its appearance, comfort and value. Whether your existing floors are damaged, outdated or difficult to maintain, choosing new flooring can transform your living space.
However, flooring replacement involves more than selecting a colour or material. Homeowners need to consider their budget, room requirements, subfloor condition, installation method and long-term maintenance.
This complete flooring replacement guide explains the key steps to help you make an informed decision for your home.
1. Know When Your Flooring Needs Replacement
Flooring can last for many years, but everyday wear and tear eventually affects its condition. Identifying the signs early can help you decide whether repairs are sufficient or complete replacement is necessary.
Common signs that flooring needs replacement include:
- Visible damage: Cracks, deep scratches, broken tiles or lifting boards can affect the appearance and usability of your floor.
- Water damage: Swelling, warping, mould or persistent dampness may indicate that the flooring or subfloor needs attention.
- Loose or uneven sections: Moving boards, soft spots and uneven surfaces may indicate installation problems or underlying damage.
- Persistent stains and odours: Carpet stains and trapped odours may become difficult to remove after years of use.
- Outdated appearance: You may want to replace flooring to match a renovation or create a more consistent style throughout your home.
Before replacing the floor, investigate any underlying moisture problems or structural issues. Installing new flooring without addressing the cause can lead to further damage.
2. Choose the Right Flooring Material
Selecting the right flooring material is one of the most important decisions in a replacement project. Different materials offer different benefits, costs and maintenance requirements.
1. Carpet Flooring
Carpet provides a soft, comfortable surface that can make bedrooms and living areas feel warmer. It also helps absorb sound, making it suitable for households seeking a quieter indoor environment.
Carpet comes in various colours, textures and fibre types. However, it generally requires regular vacuuming and occasional professional cleaning.
2. Vinyl Flooring
Vinyl flooring is popular because it comes in a wide range of designs, including timber and stone appearances. Many products are water-resistant, making them suitable for kitchens, laundries and busy living areas when installed according to the manufacturer’s instructions.
However, water resistance varies between products, and moisture can still cause problems if it reaches the subfloor.
3. Laminate Flooring
Laminate flooring offers the appearance of timber at a range of price points. It is available in various finishes and is generally easy to clean.
Standard laminate products can be vulnerable to moisture, so check the manufacturer’s water-resistance specifications before choosing them for wet or moisture-prone areas.
4. Timber Flooring
Timber flooring offers a natural appearance and can complement many interior styles. Depending on the product, it may be possible to sand and refinish the surface when it becomes worn.
However, timber can be sensitive to changes in humidity and moisture. Professional installation and suitable maintenance are important for long-term performance.
5. Tiles
Tiles are durable, easy to clean and commonly used in bathrooms, kitchens and entryways. They are available in ceramic, porcelain and other materials.
Tile installation requires careful surface preparation and accurate placement. Grout also needs regular cleaning to maintain its appearance.
3. Set a Realistic Flooring Replacement Budget
Your flooring replacement budget should cover more than the cost of the new material.
Important expenses may include:
- Flooring materials and underlay.
- Removal and disposal of existing flooring.
- Subfloor repairs and preparation.
- Installation labour.
- Trims, transitions and skirting adjustments.
- Furniture moving and other additional services.
The total cost depends on the room size, flooring type, installation complexity and condition of the existing surface.
For an accurate estimate, measure the areas requiring replacement and request itemised quotes from professional flooring installers. Ask whether the quote includes old flooring removal, waste disposal and subfloor preparation.
It is also sensible to allow a contingency for unexpected repairs discovered after the old flooring is removed.
4. Inspect and Prepare the Subfloor
The subfloor is the surface beneath your finished flooring. It must be suitable for the selected material and prepared according to the manufacturer’s requirements.
Before installation, a flooring professional should check for uneven sections, moisture problems, cracks and other defects.
Depending on the findings, preparation may involve cleaning, levelling, repairing damaged areas or installing an appropriate underlay.
Skipping this step can lead to problems such as uneven surfaces, loose flooring, squeaking, premature wear or installation failure.
If the existing floor has experienced water damage, identify and resolve the source before proceeding.
5. Remove the Existing Flooring Safely
Removing old flooring creates space for the replacement material, but the process depends on the type of floor and how it was installed.
Carpet may require the removal of underlay, grippers and staples. Vinyl, laminate and timber flooring may need specialised tools and careful handling.
Important: Older homes may contain asbestos in certain flooring products, adhesives or underlying materials. Do not sand, grind, cut or mechanically disturb suspected asbestos-containing flooring. Arrange an appropriate assessment and professional handling where necessary before removal.
If asbestos is suspected, do not assume that covering the material with new flooring is always an appropriate solution. Obtain advice about the safest and legally compliant approach.
6. Plan the Installation Process
Once the subfloor is ready, the new flooring can be installed according to the product specifications.
Some flooring products require acclimatisation before installation, while others have specific temperature, humidity or moisture requirements.
The installation method also varies. Carpet requires accurate measuring and fitting, floating floors need appropriate expansion gaps, and tiles require suitable adhesives and grout.
Discuss the installation schedule with your contractor, particularly if you are replacing flooring across several rooms.
Plan where furniture will be stored and whether household members or pets need to stay away from the work area during installation.
7. Maintain Your New Flooring
Proper maintenance helps protect your investment and keep your flooring looking its best.
Vacuum carpet regularly and clean spills promptly. Use suitable cleaning products for vinyl, laminate, timber and tiles, following the manufacturer’s recommendations.
Place protective pads under furniture to minimise scratches, and use entrance mats to reduce the amount of dirt brought indoors.
For timber and laminate flooring, avoid excessive water during cleaning. In wet areas, address leaks and spills quickly to reduce the risk of moisture damage.
Regular inspections can also help you identify minor issues before they become expensive repairs.
8. Hire a Professional Flooring Installer
Professional installation can help ensure your flooring is fitted correctly and performs as intended.
When comparing installers, ask about their experience with your chosen material, preparation methods, estimated completion time and warranty arrangements.
Request a written quote that explains the materials, labour, removal, disposal and additional costs. Check product specifications and installation requirements before making your final decision.
A reliable flooring installer installer should also explain how to prepare your home and care for the new flooring after the work is complete.
Conclusion
Replacing your home’s flooring can improve comfort, appearance and functionality. The best results come from selecting suitable materials, setting a realistic budget, preparing the subfloor properly and arranging professional installation where needed.
By planning each stage carefully and maintaining your new floor correctly, you can enjoy a durable and attractive finish for years to come.