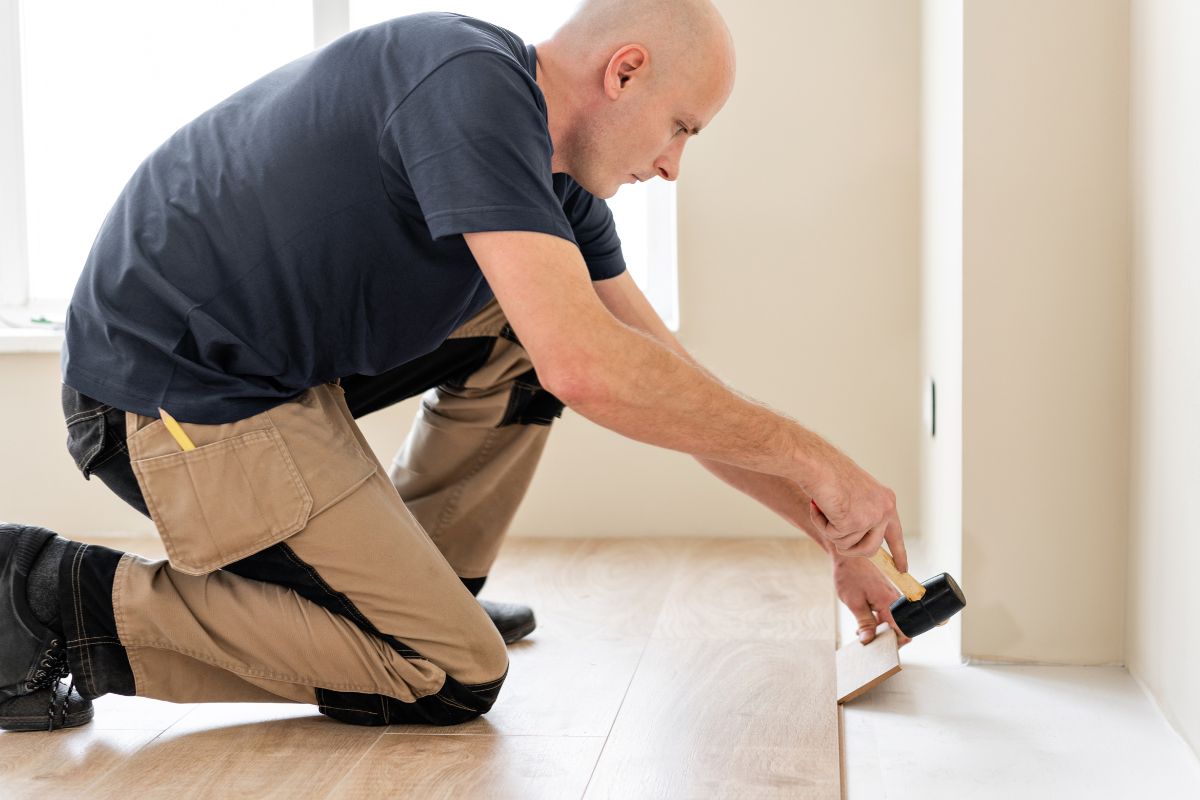
Laminate flooring is one of the most popular flooring choices across Sydney homes. It’s durable, cost-effective, versatile, and comes in a variety of finishes that mimic wood, stone, and more. Whether you’re renovating your inner-city terrace, updating a beachside apartment in Manly, or refreshing a family home in the Hills District, laminate flooring is a smart choice.
But installing laminate flooring isn’t just about snapping boards together, it requires careful planning, preparation, and a methodical approach to ensure a lasting finish that handles Sydney’s unique climate conditions.
In this guide, we’ll walk you through everything from choosing the right laminate to detailed installation steps, tools you’ll need, common mistakes to avoid, and tips for getting a professional-quality finish.
Why Choose Laminate Flooring in Sydney?
Before we dive into the installation process, it helps to understand why laminate is ideal for Sydney homes:
- Moisture-resistant options are available, crucial in humid summers and coastal areas.
- Affordable yet stylish, modern laminates look like real timber or stone.
- Durable and easy to clean, great for families with kids or pets.
- DIY-friendly, many Sydney homeowners install it themselves.
However, laminate is sensitive to moisture and subfloor imperfections, so preparation is everything.
Step 1: Plan & Prepare
1. Measure Your Space
Accurate measurements are critical:
- Measure the length and width of each room.
- Multiply to get square metres.
- Add 5–10% extra to account for cuts and waste.
Tip: Avoid measuring in a single large space without accounting for alcoves or closets.
2. Choose the Right Laminate
When choosing laminate for a Sydney home, consider:
- AC Rating: AC3 is suitable for most homes; AC4 or AC5 for high-traffic areas.
- Thickness: 8–12 mm is typical. Thicker boards mean better stability and sound insulation.
- Water resistance: Especially in kitchens, laundries, or bathrooms.
- Underlay compatibility: Some products include underlay; others require separate installation.
Sydney’s coastal humidity and year-round temperature variations mean you’ll want a quality board with good expansion tolerance.
Step 2: Acclimatise Your Boards
Laminate must adjust to your home’s humidity and temperature before installation:
- Store unopened boxes in the room where you’ll install them for 48–72 hours.
- Stack them flat and off the floor.
This helps prevent expansion or contraction after installation.
Step 3: Prepare the Subfloor
A level and dry subfloor is essential:
Subfloor Types You May Encounter in Sydney
- Concrete slab (most common)
- Plywood or timber subfloor
- Existing flooring (tile, vinyl, etc.)
What You Need to Do
✔ Clean thoroughly: Remove dust, debris, and adhesive residue.
✔ Fix uneven spots: Use a levelling compound if the floor varies more than 3 mm over 1 m.
✔ Check moisture: Concrete must be dry, use a moisture meter if in doubt.
Laminate cannot be installed on a damp or uneven floor.
Step 4: Install Underlay
Underlay does several things:
- Reduces noise
- Adds comfort underfoot
- Acts as a moisture barrier (if required)
- Compensates for minor subfloor imperfections
How to lay underlay:
- Roll it out parallel to the direction you’ll lay boards.
- Butt edges tightly, don’t overlap.
- Tape seams if needed.
Step 5: Plan Your Layout
Before clicking anything together, decide your board direction:
- Boards usually run parallel to the longest wall or the main light source.
- Avoid short, narrow end rows, aim for at least 60 mm width on the final row.
Mark a starting line using chalk so your first row stays straight.
Step 6: Begin Installation
Start With the First Row
- Place spacers along the wall, leave a 10–12 mm expansion gap.
- Click the boards together tongue-to-groove.
- Work left to right.
Stagger Joints
Your rows should be staggered:
- Aim for end joints at least 30 cm apart.
- This creates a strong, stable installation and avoids an overly “grid” look.
Cutting Boards
Use a laminate cutter, jigsaw, or circular saw with a fine blade:
- Always cut with the finish side down to prevent chipping.
- Take your time on tricky cuts around door frames or vents.
Step 7: Fit Around Obstacles
Door jambs, vents, and skirting boards can complicate things:
- Under-cut door frames with a jamb saw so boards slide under them cleanly.
- Use coping or niche cuts for irregular shapes.
- Keep your expansion gap consistent.
Step 8: Finish Rows
As you work across the room:
- Join boards carefully, listening for the satisfying click of the click-locking system.
- Use a tapping block if needed, but not excessive force.
- Always maintain your expansion gap around all walls and fixed objects (pipes, columns, etc.).
Step 9: Install Final Row
The last row often needs trimming lengthwise:
- Measure carefully, account for spacers.
- Trim boards with a saw.
- Snap them in place; use a pull bar if space is tight.
Step 10: Install Skirting & Transitions
Once all boards are in:
- Remove spacers.
- Install skirting or quarter round to hide expansion gaps.
- Add transition strips between rooms or where flooring meets other surfaces.
These finishing touches give a professional look.
Common Mistakes to Avoid
🛑 Ignoring expansion gaps, laminate needs room to expand and contract in Sydney’s varying humidity.
🛑 Skipping underlay or moisture barrier, especially on concrete slabs.
🛑 Uneven subfloor, this causes boards to squeak or separate.
🛑 Poor joint alignment, take time to click boards properly.
Tips for Best Results
Sydney Weather & Climate Considerations
Sydney’s humid summers and mild winters mean moisture control is key:
- Use moisture-resistant underlay.
- Keep indoor humidity between 40–60%.
- Avoid wet mopping, use a damp mop only.
Tools You’ll Need
You don’t need expensive tools, but make sure you have:
- Measuring tape and chalk line
- Underlay and spacers
- Laminate cutter or saw
- Tapping block and pull bar
- Hammer or rubber mallet
- Safety gear (glasses, gloves)
Time Estimates
A single small-to-medium room (10–20 sqm) can take a weekend for one person.
Larger homes or tricky layouts may take longer.
Maintenance After Installation
Laminate is low-maintenance, but best practices include:
✔ Sweep or vacuum regularly
✔ Use a damp (not wet) mop
✔ Wipe spills quickly
✔ Avoid abrasive cleaners
✔ Use felt pads on furniture to prevent scratching
When to Call a Professional in Sydney
DIY installation can save money, but you might want pro help if:
- Subfloor needs levelling
- There’s high moisture risk (e.g., bathroom)
- You have complex room shapes
- You want warranty-protected installation
A professional flooring installer ensures precise cuts and a flawless finish.
Conclusion
Installing laminate flooring in Sydney is a rewarding DIY project when planned and executed correctly. With the right materials, careful preparation, and patience, you can transform your space with beautiful, durable flooring that stands up to daily life and local climate conditions.
Whether you’re refreshing a rental, renovating your home, or preparing a property for sale, laminate flooring brings style and value and now you have the pro-level guide to make it happen.